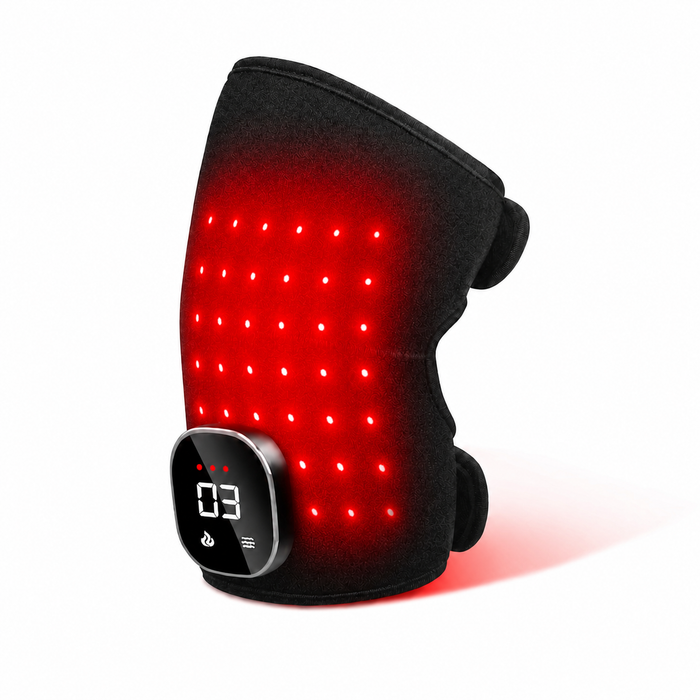
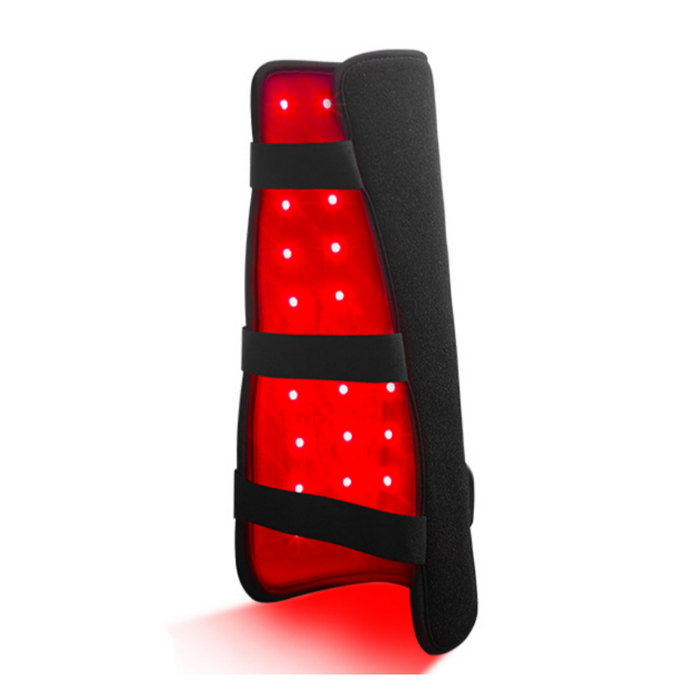
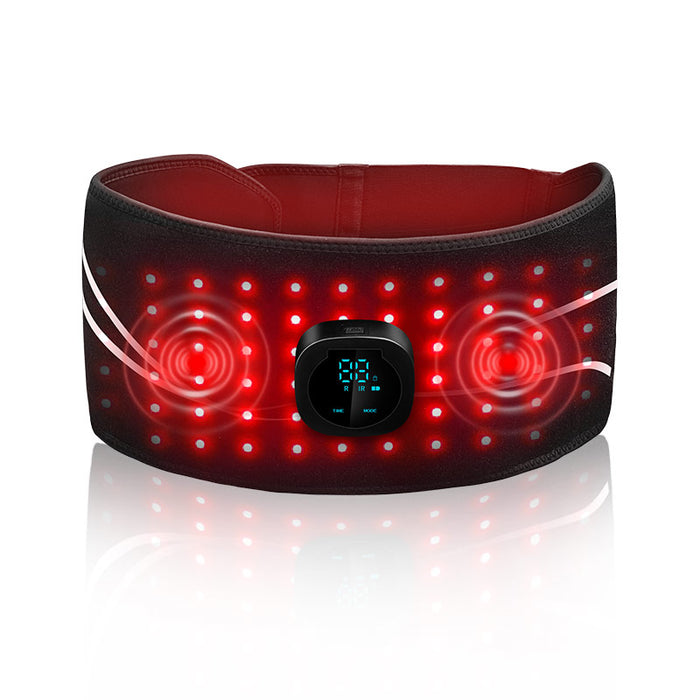
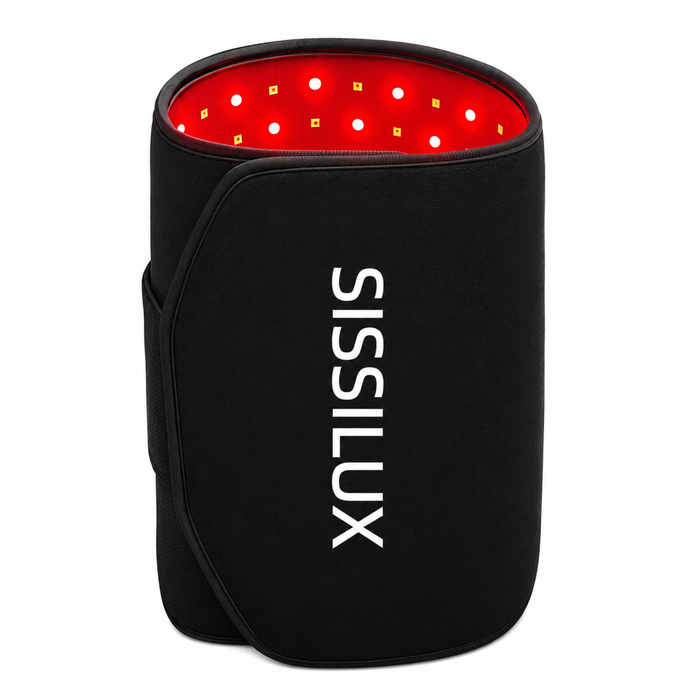
Choose red light therapy for feet and legs by the area you will actually cover consistently. A foot wrap suits soles, heels, toes, and ankles. A foot-and-calf boot extends the routine through the lower leg. A full-leg boot makes more sense when the knee and most of the leg belong in the same session. More coverage is useful only when you need it.
“Red light therapy for feet and legs” can mean three very different routines. One person wants close contact around a sore heel. Another wants the ankle and calf after long shifts. A third wants one continuous setup from foot to knee or above. The device should follow that coverage map—not the other way around.
Start with the body area, not the LED count
Red and near-infrared light deliver light energy to the tissue under the device. Research on photobiomodulation describes cellular signaling pathways that may be relevant to recovery, but the dose reaching a specific area depends on distance, angle, contact, and session setup. That makes repeatable coverage a practical buying criterion.
The simplest question is: where do you want the light-facing surface to stay during most sessions?
| Primary area | Best starting format | Main tradeoff |
|---|---|---|
| Sole, heel, toes, and ankle | Foot wrap | Compact and targeted, but does not cover the whole calf or leg at once |
| Foot, Achilles area, and calf | Foot-and-calf boot | More lower-leg coverage with a larger wearable |
| Foot, calf, knee, and most of one leg | Full-leg boot | Broadest continuous coverage, with more space and setup required |
| Several unrelated body areas | Panel or general wrap | Flexible use, but alignment and distance become part of every session |
Option 1: a foot wrap for precise foot-and-ankle coverage
A foot wrap is the most direct choice when the sole, heel, toes, or ankle are the real target. SissWrap™ Foot combines 660 nm red and 850 nm near-infrared light in a flexible cordless format with five light modes and three brightness levels. It is designed to wrap around the sole, heel, toes, and ankle.
This is the lower-friction choice for a focused routine: fewer areas to position, less material around the leg, and an easier match for heel or foot-specific guides. If plantar heel pain is the issue, start with the plantar-fasciitis setup guide. For burning, tingling, or numb feet, use the neuropathy entry guide.
Option 2: a foot-and-calf boot for one lower-leg routine
SissWrap™ Foot & Calf extends coverage through the sole, Achilles area, and calf. It uses 660 nm and 850 nm light, includes adjustable vibration that can be switched off, and runs from a built-in rechargeable battery. Its timer supports 10–30-minute sessions. One unit covers one foot and lower leg.
This format fits people whose normal recovery target is not just the foot. It avoids treating the foot, then repositioning a smaller device on the calf. The tradeoff is that it is larger than a foot-only wrap and should be chosen because you expect to use the added calf coverage—not because “more” sounds automatically better.
Option 3: a full-leg boot for continuous foot-to-knee coverage
SissWrap™ Full Leg Boot is designed for broad coverage across the feet, calves, knees, and lower legs. It uses 660 nm red and 850 nm near-infrared light with 528 LEDs, adjustable intensity and timer settings, and a plug-in power system. The current product guidance lists 20–30 minutes per session.
This format is most logical when the knee and larger portions of the leg genuinely belong in the routine. If you mainly want the heel or ankle, a full-leg setup may add size without improving your ability to keep the target area consistently covered.
Match the guide to the symptom
Coverage choice comes after symptom routing. These pages answer different questions:
- General foot pain: a starting hub for heel pain, overworked feet, tendon pain, and nerve-like symptoms.
- Plantar fasciitis evidence: what the clinical research does and does not support.
- Achilles recovery: how to reposition a foot wrap behind the ankle.
- Ankle pain: why outer, inner, front, and back-of-ankle pain need different placement and different care.
- Foot neuropathy: evidence limits and the importance of finding the cause of numbness or tingling.
Three questions that prevent overbuying
- Will I use the calf or knee coverage most weeks? If not, a focused foot wrap may be the better routine.
- Do I need cordless mobility or a fixed plug-in setup? Power style changes where the device fits into daily life.
- Am I choosing for one defined problem or general recovery? A symptom-specific page should guide placement; a coverage guide should guide format.
Safety comes before coverage
Do not use a larger red-light device to self-diagnose unexplained swelling or pain. One-sided leg swelling without a clear cause, a hot red calf, sudden shortness of breath, inability to bear weight after injury, deformity, or new numbness needs medical attention. People with diabetes should take new foot problems seriously and follow their clinician’s foot-care advice.
The bottom line
The best red light therapy format for feet and legs is the smallest setup that reliably covers your real target area. Choose a foot wrap for focused foot-and-ankle use, a foot-and-calf boot when the calf belongs in the same routine, and a full-leg boot when broad continuous leg coverage is the actual goal.